> ## Documentation Index
> Fetch the complete documentation index at: https://docs.choicely.com/llms.txt
> Use this file to discover all available pages before exploring further.
# Getting Started
> Clone the React Native demo project and set up your development environment
This guide is for developers who want to write custom React Native components locally and bundle them into the app binary. You'll clone the demo project, create your own components, and build them into your iOS or Android app using Xcode or Android Studio.
## Prerequisites
Before you begin, make sure you have the following installed:
* **Node.js** >= 20
* **Xcode** (for iOS development)
* **Android Studio** (for Android development)
* A Choicely **app key** from [Choicely Studio](https://studio.choicely.com)
## Clone the repository
```bash theme={null}
git clone https://github.com/choicely/choicely-sdk-demo-react-native.git
cd choicely-sdk-demo-react-native
```
## Project structure
```
choicely-sdk-demo-react-native/
├── rn/src/
│ ├── index.js # Component registry
│ └── components/ # Your React Native components
│ ├── Hello.jsx
│ ├── Counter.jsx
│ └── TicTacToe.jsx
├── ios/ # iOS native project
├── android/ # Android native project
├── default.env # Default environment config
└── package.json
```
## App key configuration
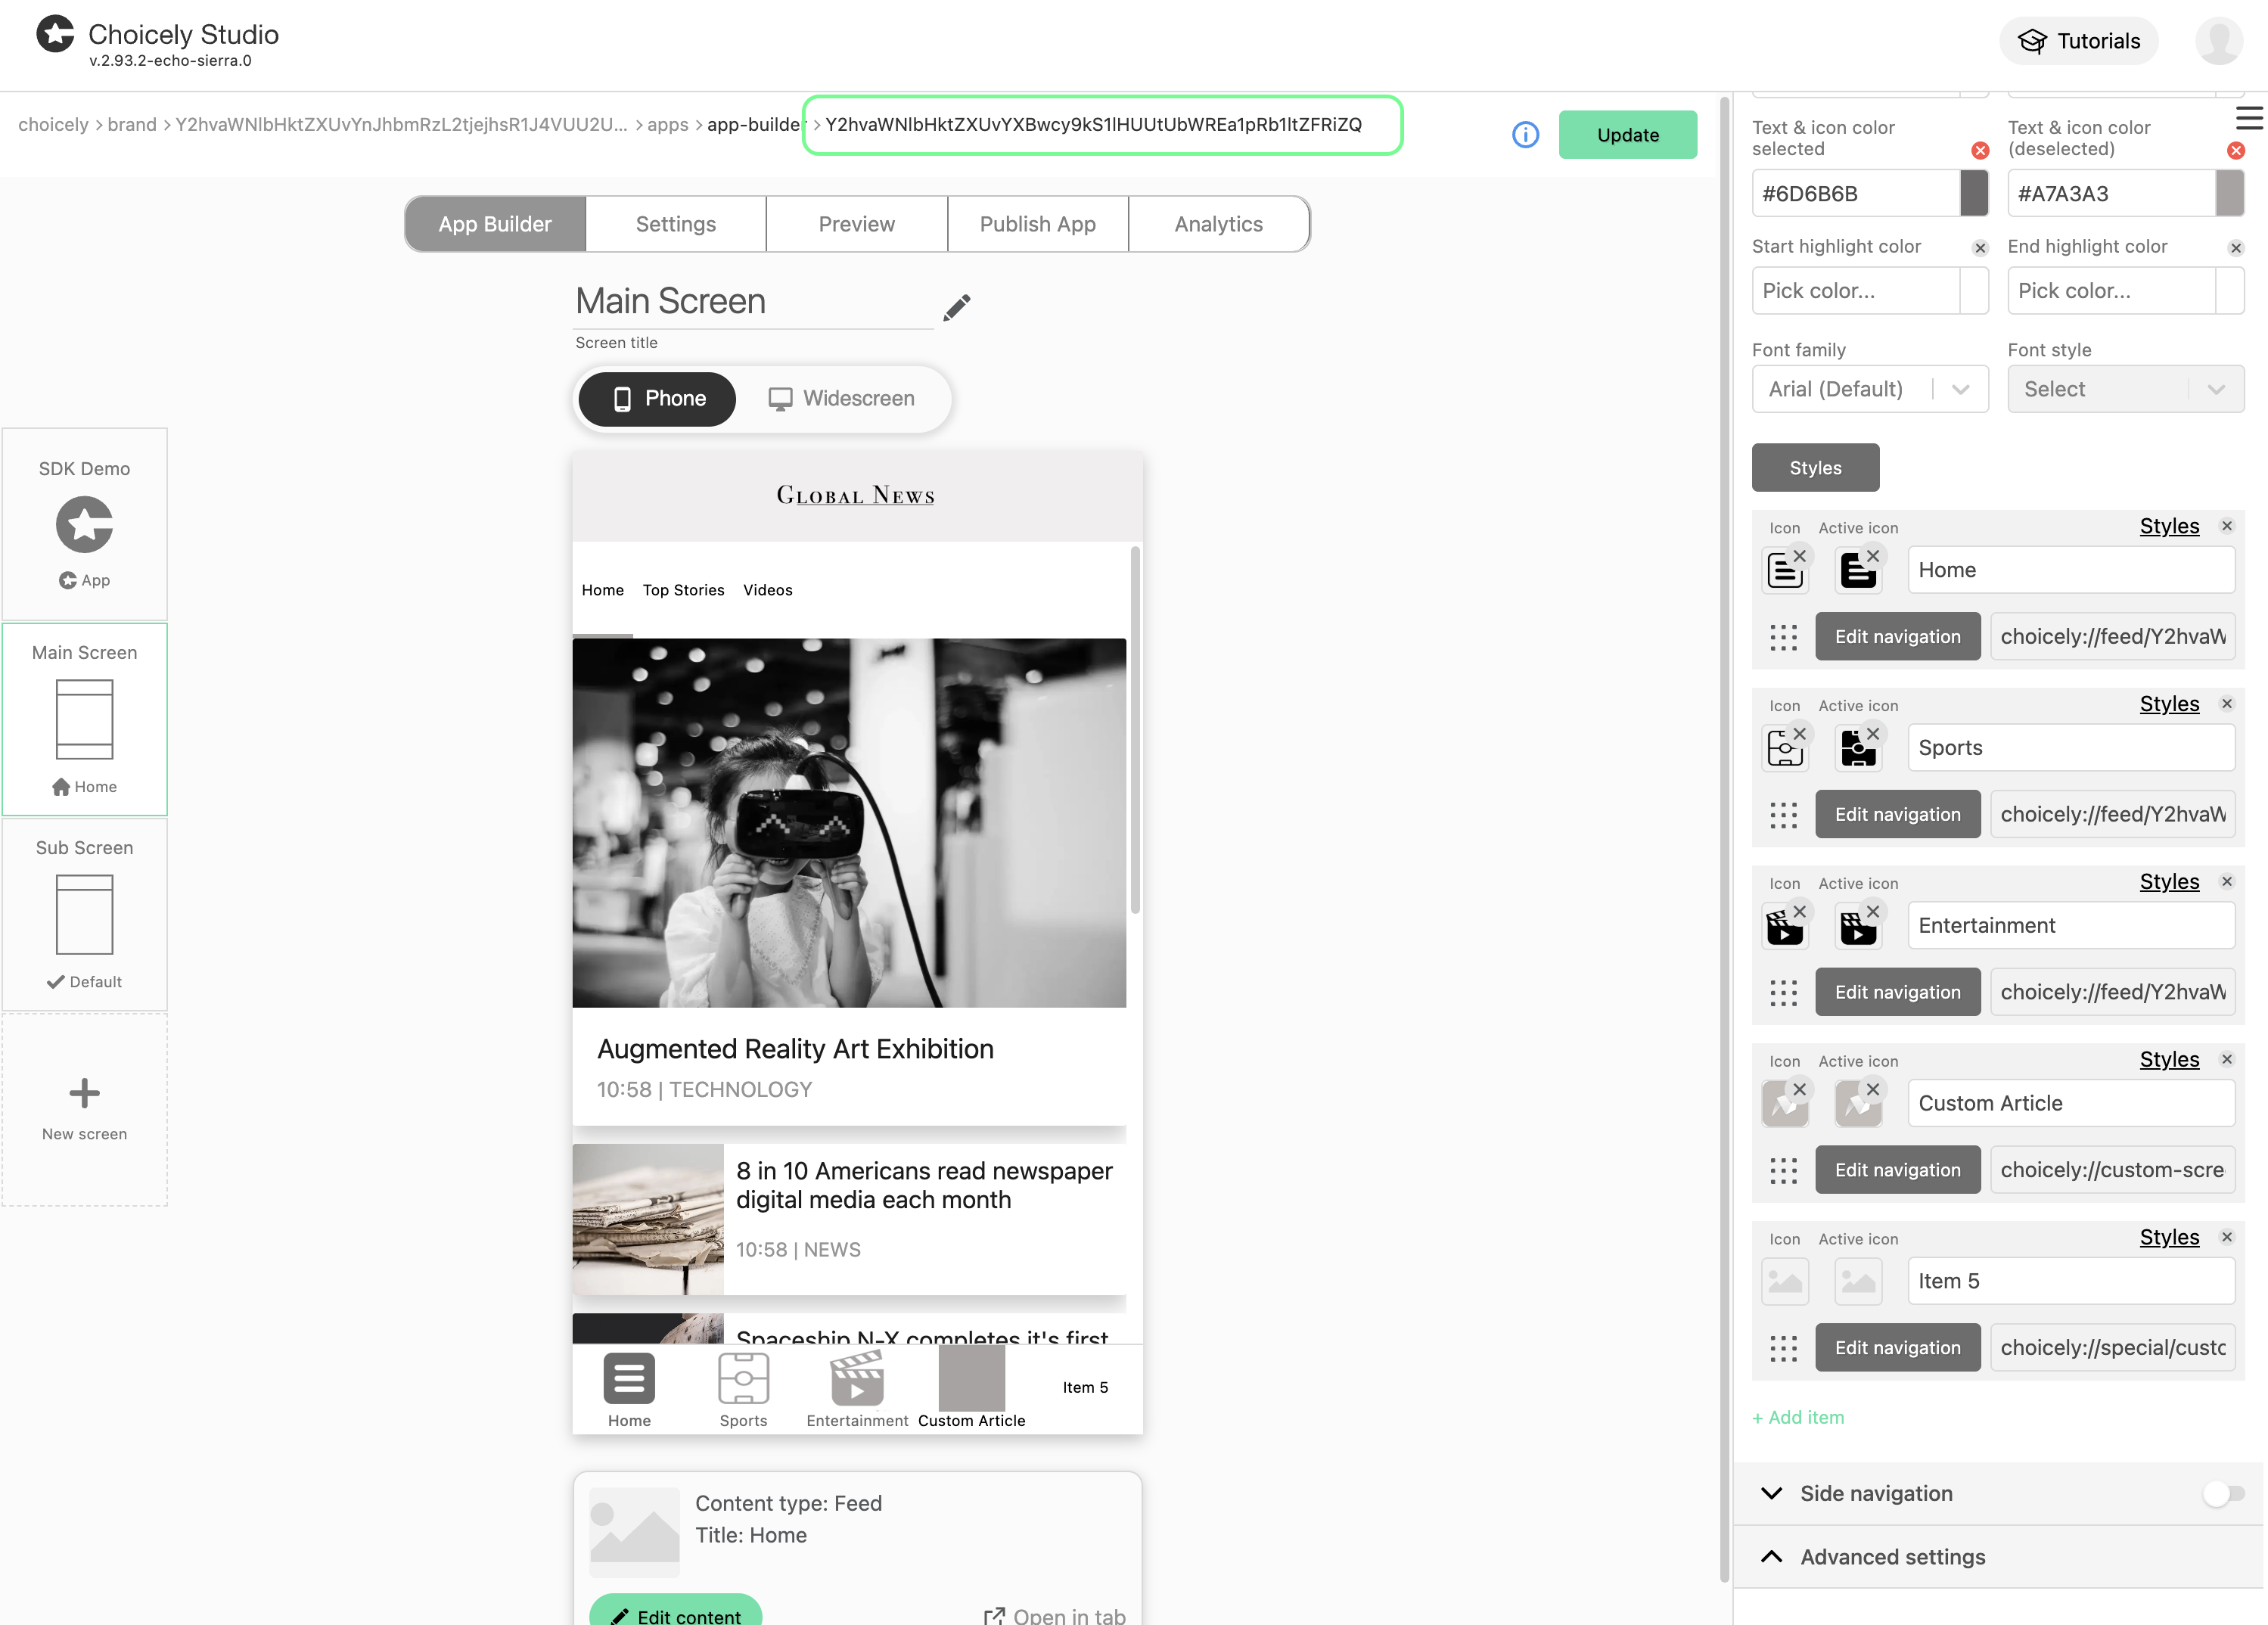
The project includes a default demo app key in `default.env` that works out of the box — no setup needed to get started.
To connect to your own Choicely app, create a `.env` file in the project root:
```bash theme={null}
CHOICELY_APP_KEY=your_app_key_here
```
Values in `.env` override `default.env`. You only need to set the variables you want to change.
Here's where you can find the app key in Choicely Studio:
 ## How it works
The React Native integration follows a simple four-step flow:
1. **Create a component** — Write a React Native component in `rn/src/components/`.
2. **Register it** — Add an entry to `componentMapping` in `rn/src/index.js`.
3. **Set the URL in Studio** — Point a navigation item to `choicely://special/rn/` in Choicely Studio.
4. **SDK routes to the component** — When the user taps the item, the native SDK loads your React Native component.
## Next steps
Write components, register them, and pass props via URL
Build and run on iOS and Android with Metro
## How it works
The React Native integration follows a simple four-step flow:
1. **Create a component** — Write a React Native component in `rn/src/components/`.
2. **Register it** — Add an entry to `componentMapping` in `rn/src/index.js`.
3. **Set the URL in Studio** — Point a navigation item to `choicely://special/rn/` in Choicely Studio.
4. **SDK routes to the component** — When the user taps the item, the native SDK loads your React Native component.
## Next steps
Write components, register them, and pass props via URL
Build and run on iOS and Android with Metro