Create An Android Project
Open Android Studio and click New Project to create a new project. Choose your desired project template, for example Empty Activity, and click Next. Now enter your app name and package name.Set Java & Kotlin and AGP Version
Make sure to set the Java versions is 17 and Kotlin versions 2.2.10 in your project settings. Also, ensure that you are using the latest version of Android Gradle Plugin (AGP) for optimal compatibility with the Choicely SDK.Open Build.gradle (App)
In your project, navigate to thebuild.gradle file located in the app module. This is where you’ll add the necessary configurations for the Choicely SDK.
Set Compile Option
1. Add Repository Server
To access the Choicely SDK, you need to add the Maven Central repository to your project. This allows Gradle to fetch the SDK dependencies correctly.2. Add the Choicely SDK
To add the Choicely SDK for Android as a dependency, add the following to your app-level build.gradle file inside the dependencies block.3. Create Application Class
Create anApplication class in your project, extend Application, and initialize the Choicely SDK inside onCreate(). Then, set your application class in the AndroidManifest.xml file.
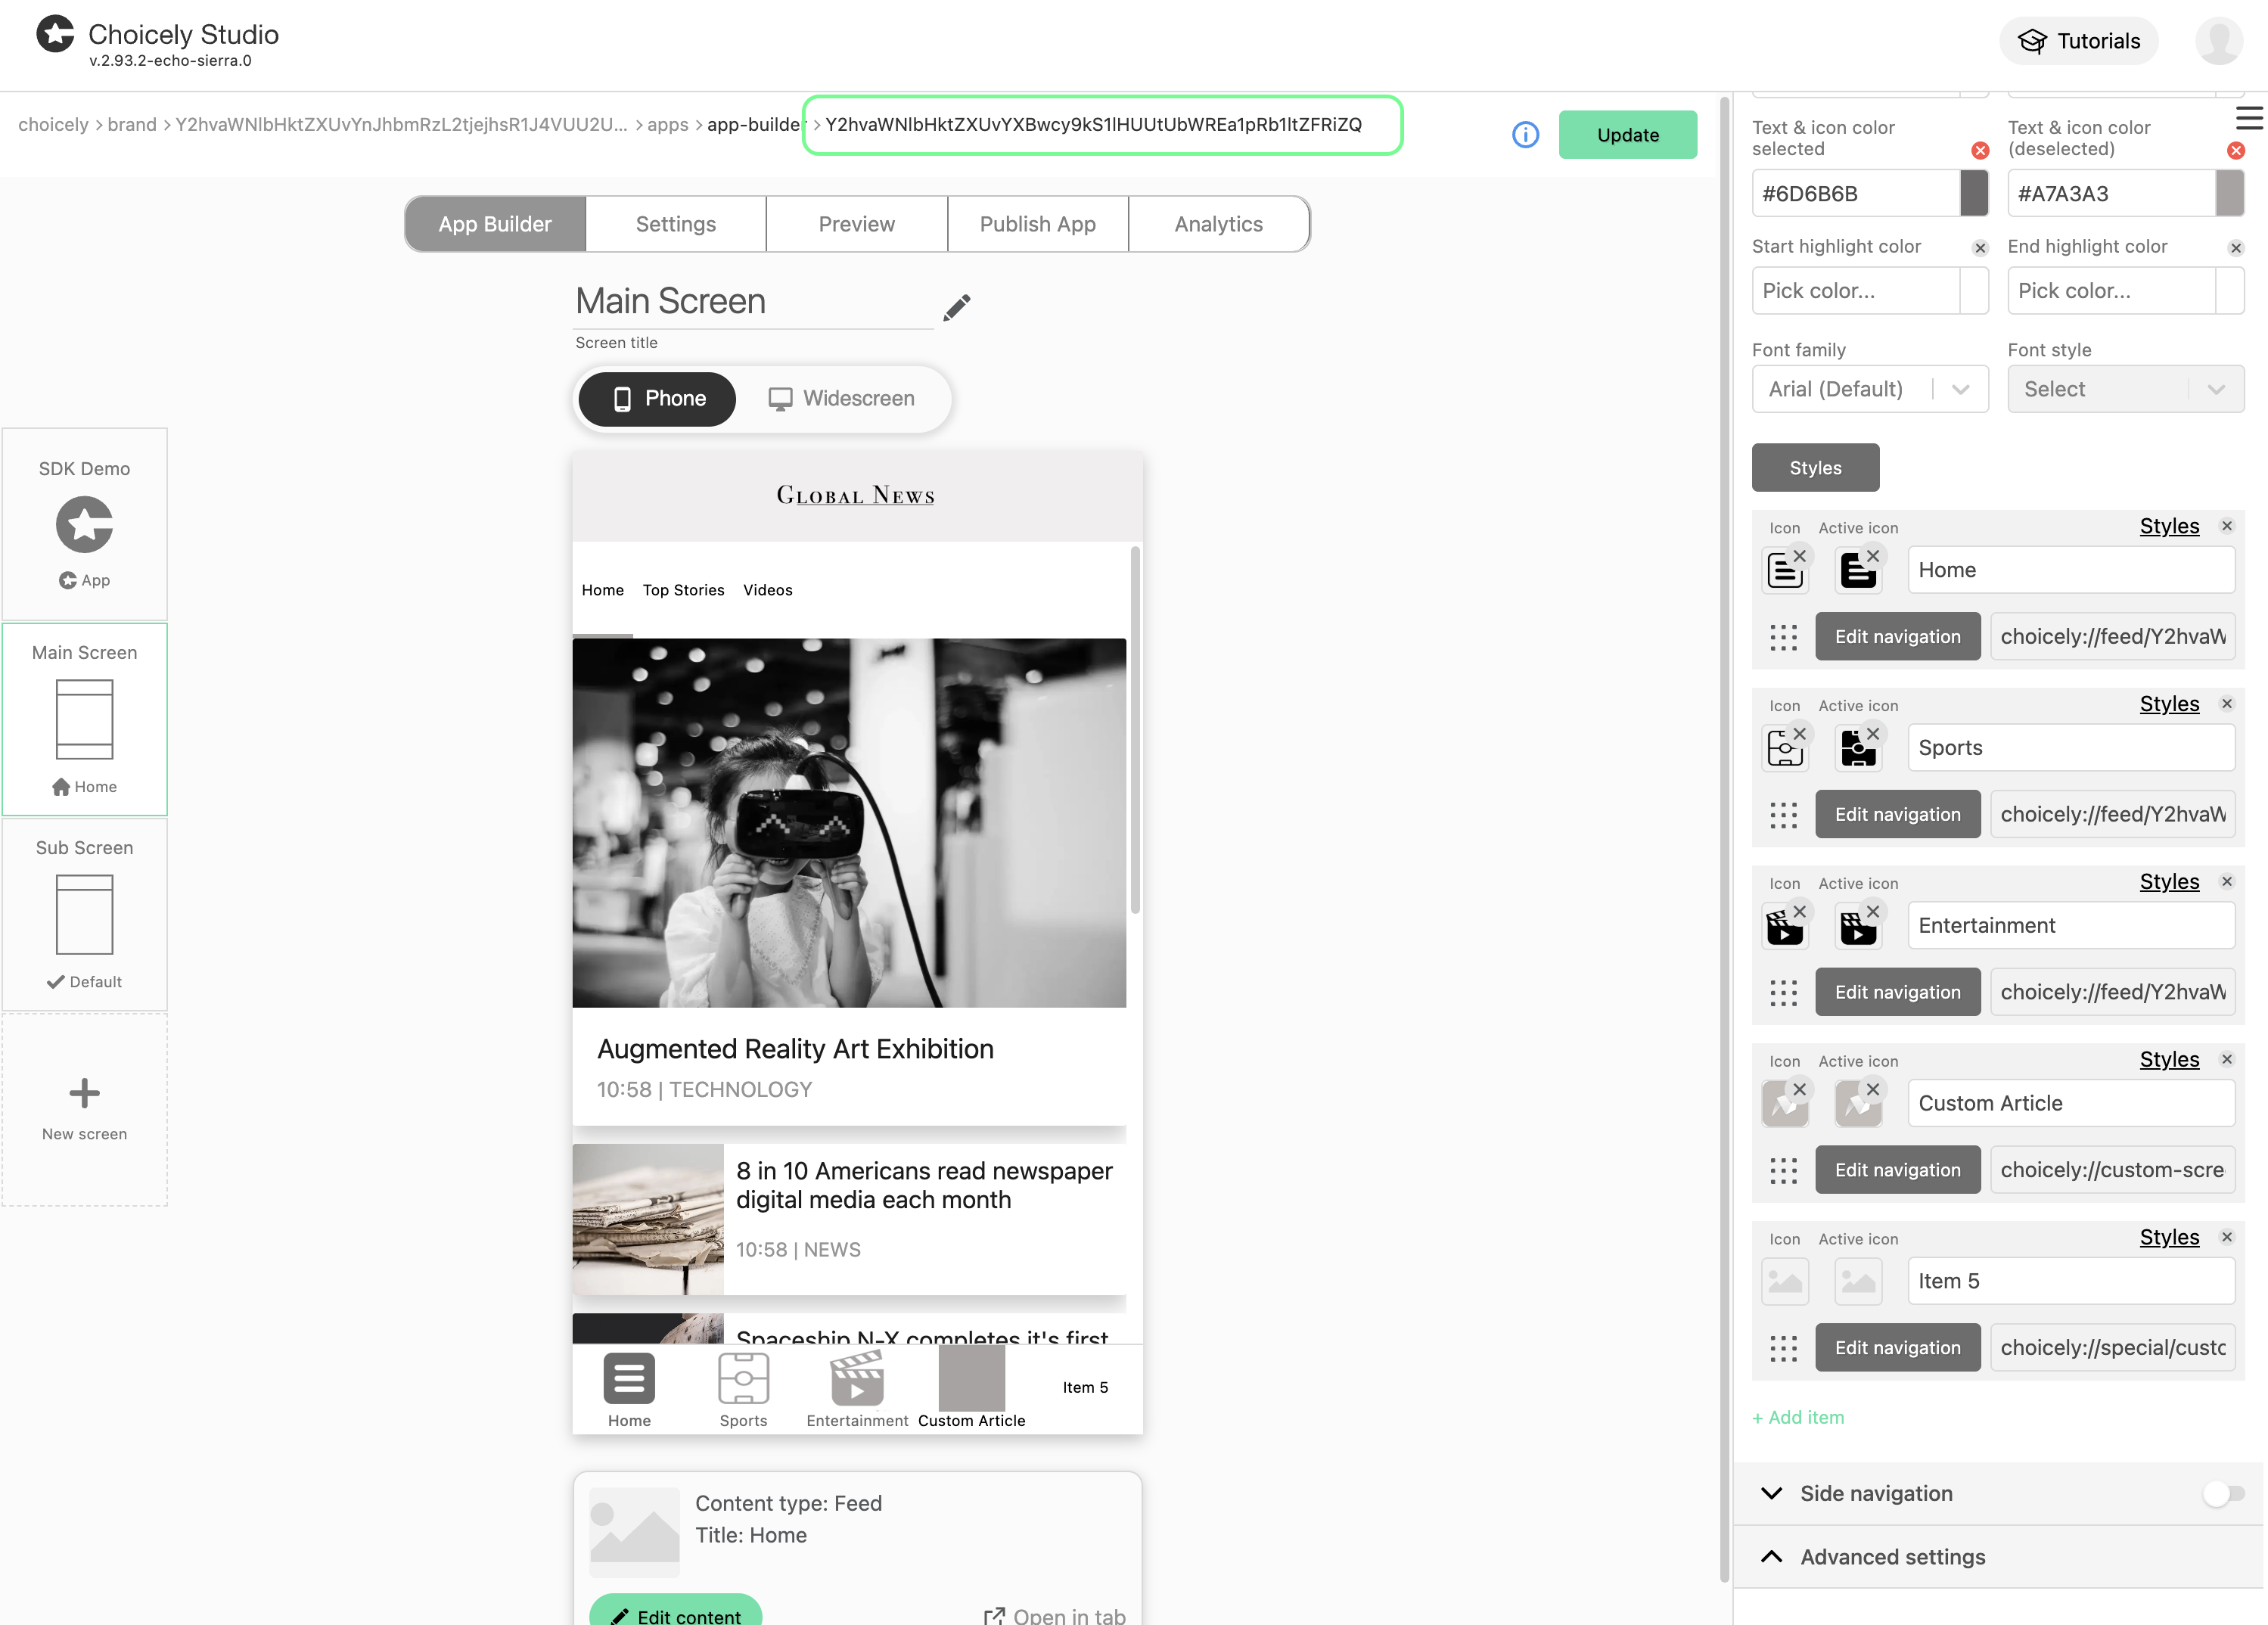
For testing purposes, you can use the following app key:
Y2hvaWNlbHktZXUvYXBwcy9kS1lHUUtUbWREa1pRb1ltZFRiZQAlternatively, you can create a new app using Choicely Builder: How to create apps with Choicely
